Through Every Season

Month: November 2011

Black Friday Deals

We are not one of the brave shoppers that spend their 
Thanksgiving waiting in line then shop all night, but we do enjoy 
going out late Friday morning and seeing what they’ve left behind.
The last year or so having popcorn popping in the house
hasn’t been the best thing for my corn allergy.
It makes me dizzy, confused, and really irritated.
So for a while I stopped buying it.
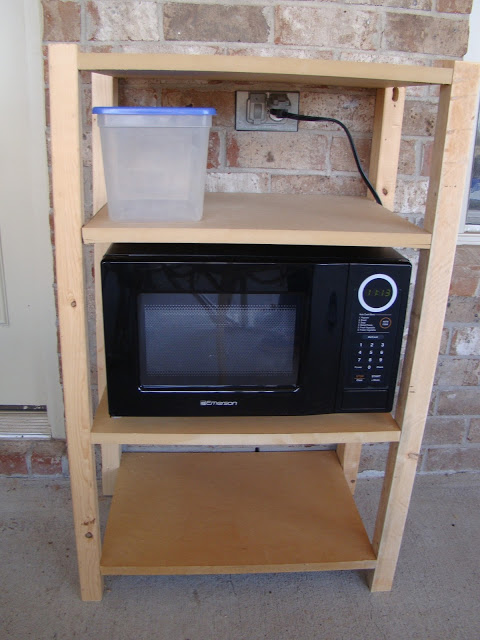
I finally suggested that we buy a microwave for the back porch.
We found this one for $40 at Target on Black Friday.
It’s actually too small for a regular bag of popcorn,
but it works great for those new microwaveable popcorn bowls.
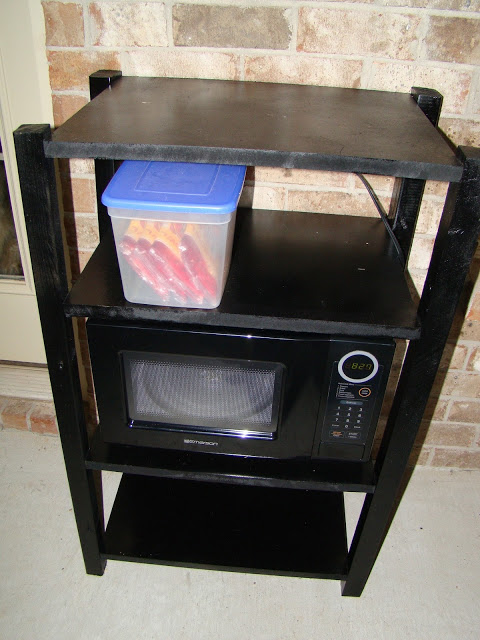
 I made this shelf totally out of scrap wood. $0
Then bought two cans of spray paint for it. $8
 And now we have a popcorn station.
We could have gotten a used microwave for less.. 
but Mike has this thing about used and public microwaves.
Our other great Black Friday deal was these golf clubs.
There’s a group of men at our church that plays golf 
together from time to time that Mike would like to hang out with.
He needed someone to practice with before playing with them
and suggested that it would be a good way for usto have fun and exercise together.. especially if we walk the corse instead of riding a cart.
I made him promise several times that it was
 just for fun and not competition.  
We played a couple of times before and really enjoyed it.

The clubs were regularly $400 for each set.  We got both sets
for around $150.  I didn’t think I needed my own set..
Maybe Mike didn’t want to share his with me.

Mike rented “Golfing for Dummies” from Net Flicks.. and
we found a driving range and have gone out a few times.
I might be enjoying them even more than Mike.
We also found a cheep course near by.
It’s closed for the season.. so we’ll have to practice up for the Spring.

Love,
J

What’s Cooking for Thanksgiving

Thanksgiving is my kids’ favorite holiday, “because we get to eat.”  
Joel and I spent 3-4 hours on Monday grocery shopping.
He had to take his car in for an oil change and 
was happy to hang out with me while he waited.
  
Judi is my regular grocery shopping helper.  
She is so well trained.  
I made a Thanksgiving Shopping List that 
I re-print every year and she knows it well.  
She’ll be home from Guatemala late tonight.
It doesn’t usually take quite so long.. 
but we were out of EVERYTHING after 10 days of no fridge.  
I am so glad Mike fixed it.  So far so good.  Yay!
As my mom pointed out, it usually takes me several days
to do all the cooking for Thanksgiving.. but
I don’t mind because the kids enjoy it so much.
Yesterday, I made some stuff that turned out great:
Cranberry-Orange Relish
1 lb. cranberries
4 apples, peeled
1 orange with about 1/2 of the peel
1 1/2 c. walnuts 
1/2 c. pineapple with juice
1 c. sugar in the raw
Blend in blender.
Refrigerate overnight.
Will keep in freezer for 2 months.

Spicy Pumpkin Ginger Soup (for lunch)
1 onion, chopped
2 ribs celery, chopped
1 apple, chopped
1 carrot, chopped
1 oz. ginger root, grated
2 T. butter
1/4 c. peanut butter
1/4 c. roasted pumpkin seeds
salt
black pepper
4 c. pumpkin
4 c. vegetable broth
thyme
nutmeg
Two pumpkin pies (one sugar free).
Then the sugar-free Peanut Butter and Oatmeal cookies
didn’t turn out so great.  I so need help with those. 🙁
Today I made some Banana Pudding with Xylitol.  
I hear it’s good, but can’t eat it because the xylitol comes from corn.
  
I also made some Pumpkin Chip Muffins.. the kind we eat every year 
for breakfast ..and a gluten free recipe I tried for the first time.  
I had to run to the store for muffin liners mid-mixing them 
(I added them to my grocery list for next year.)
 and almost forgot to add the pumpkin in when I came back.  
Thank God they looked funny and I realized my mistake.
They went really well with my leftover pumpkin soup.
Pumpkin Chip Muffins or Cake
4 eggs
2 c  sugar
14 oz. can pumpkin
1/3 c vegetable oil
2/3 c apple sauce
In a small bowl whisk together,
 adding each in order until smooth.
3 c  flour
2 t. baking soda
2 t. baking powder
1 t. cinnamon 
1 t.  all spice
1 t.  nutmeg
1 dash salt
Mix in a large bowl.  Make a well.
1 c walnuts
1 c  chocolate chips
1 c  raisins
Stir in wet ingredients about 25 strokes 
until just combined.  Don’t over stir.
Spoon or use a 1/3 c. measure to fill well 
greased or paper lined muffin tins about 3/4 full.  
Bake in a preheated 350 oven for 20-25 min. 
or 55 minutes in a bunt pan.
I made the gluten free muffins basically the same way with only 2 eggs, 
and 1 and 1/2 cups sugar, then substituted 1 and 1/4 cups teff flour 
and 1/2 cup tapioca flour for the flour.
I just finished the Strawberry Jello Salad – and realized that 
I could probably safely eat it.  🙂
I stumbled across this recipe this morning 
Olive Oil and Vinegar Dipping Sauce:
3 large cloves garlic, minced
2 tablespoons balsamic vinegar
5 tablespoons extra-virgin olive oil
1/2 teaspoon crushed red pepper flakes
1 teaspoon fresh rosemary, chopped
1 pinch salt and black pepper
and decided to add it to my Thanksgiving Dinner list..
I think I’ll enjoy it more than gluten free/corn free gravy.
Tonight, I am making Cheesy Spinach Burritos (for dinner).
Then I’ll put the turkey in the oven to cook over night on low.
And we’ll go the the airport to pick up Judi!!!
Tomorrow we’ll make:
Garlic Mashed Potatoes
Green Been Casserole
Ore-ida Crinkle Crispers
Crescent Rolls
Gravy
Turtle Pie

 and
APPLE MALLOW YAM YUMS  
4 med. sized apples
2/3 c. pecans or walnuts
1 c. raw sugar
1 tsp. cinnamon
1 pkg. frozen sweet potatoes, thawed
1/2 c. butter, sliced
Cut apples and sweet potatoes
 into chunks and toss together.
Layer in buttered dish.
Dot with remaining butter.
Cover.
Bake at 350 degrees for 35 to 40 minutes. 
It will probably all last a couple of days at the most.
3 Large boys who “get to eat.”
Hope you have a wonderful Thanksgiving!
Love,
Jenny

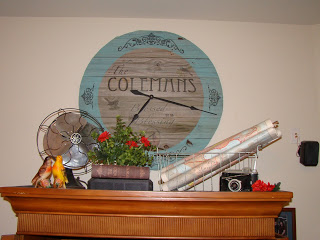
Family Name Clock

I started this project while sitting in my recliner 
for those first two months after my surgery.  
I had a lot of time for staring and thinking.
Once I had the idea, I designed it in photoshop.  
Then my good friend, Misty, gave me some boards from her fence
that they were repairing after all that wind damage.
I screwed the boards into a panel and started cutting 
out the circle of the clock months ago.. but my jig saw’s
motor burned up mid circle and my project was put on hold.
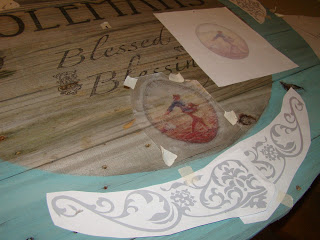
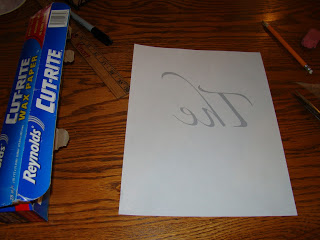
 I printed all my designs out in light gray to save 
ink and laid them on the circle for placement.
I taped a piece of wax paper to my printer paper and 
ran it through the printer.
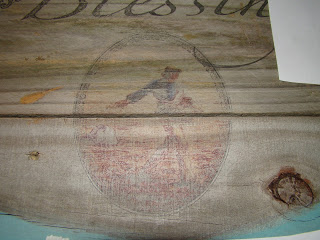
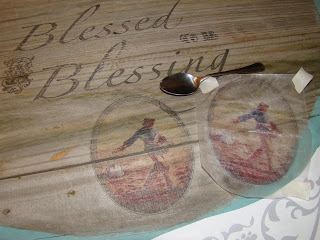
Then I used a spoon to rub the ink and wax on to my wood.
A couple of times it took two coats.
“Blessed to be a Blessing” is our family motto.
 A couple of times I forgot to reverse the image,
a very important step. 
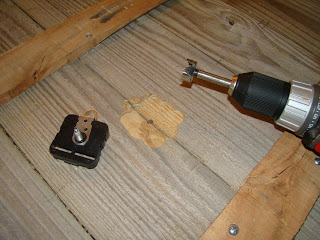
The boards were a little too thick for my clock works. 
So I drilled them down a bit. 
Now I know what time it is.
Love,
Jenny

Fall Field Trip

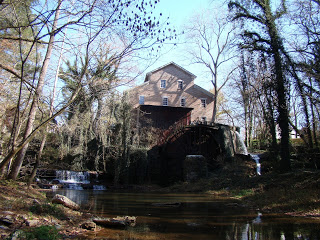
For Veteran’s Day Mike took me to the coolest mill we’ve ever seen.
It’s called Falls Mill and it’s only about an hour from us.
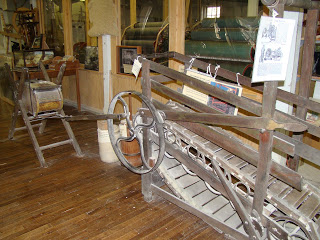
This is a treadmill for a dog.. 
He treads and the butter churns in the thing in front.
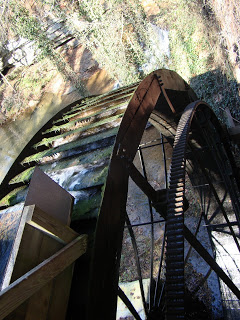
 The water wheel was over a hundred years old.
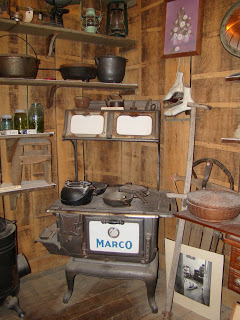
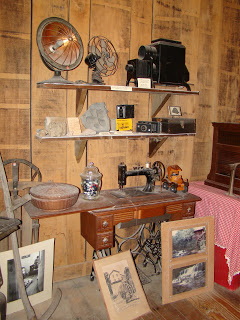
Up stairs they had a museum.
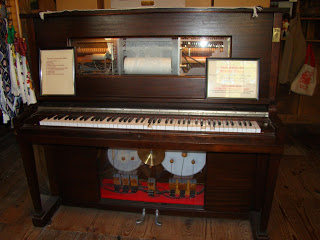
 This player piano plays 20/30’s music and comes
complete with drums and cymbals.
 They had a collection of cast iron.
 And I thought Mom would like the cameras.
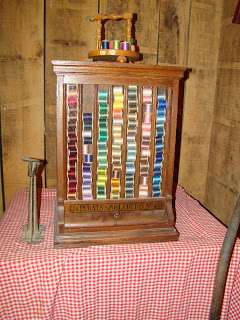
I really liked the spool organizer.
Where can I get one of those?
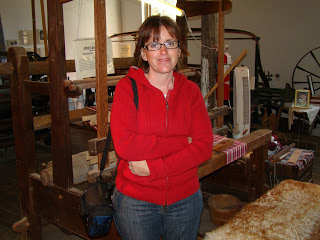
For a while the mill was used to spin thread. 
I thought demonstrating this weaving loom would be a cool job. 
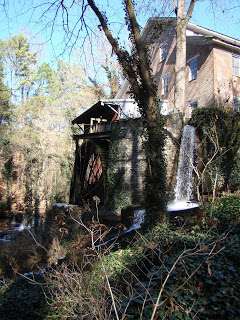
 Here’s where the water runs down the wheel. 
And a picture of the mill from down below.
The sun wasn’t real cooperative. 
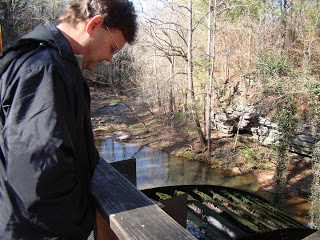
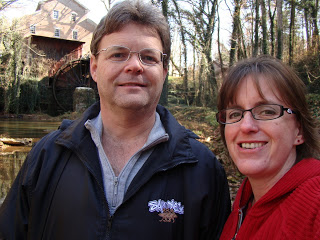
 We were there.
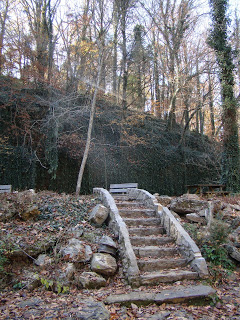
Most of the leaves had fallen
in this valley.
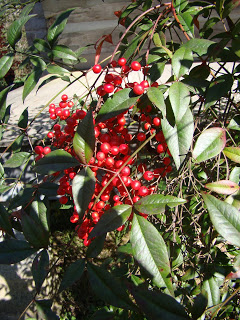
 Loved these berries.
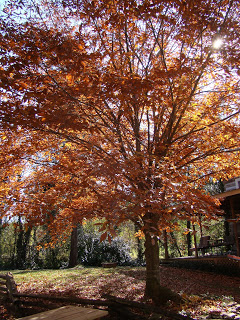
 This tree was gorgeous.
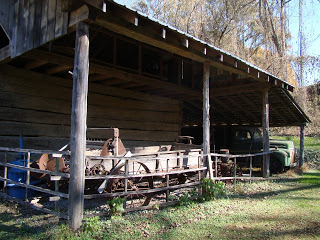
 The garage.
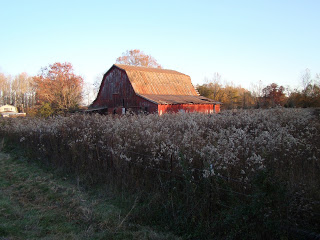
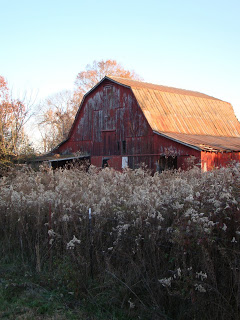
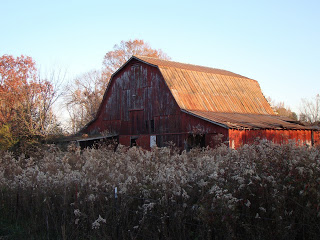
On the way home we passed this barn
 and Mike stopped so I could photograph it. 
Nice. 
Love,
Jenny

Wicking House Plants

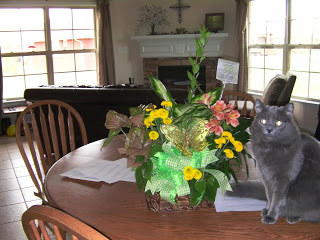
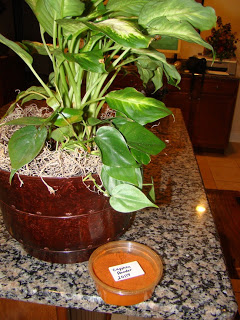
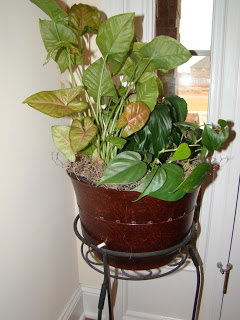
My good friend Suzanne sent me this beautiful arrangement for my birthday.
I wasn’t super excited at first.. 
I think because I was anticipating the guilt of killing them.
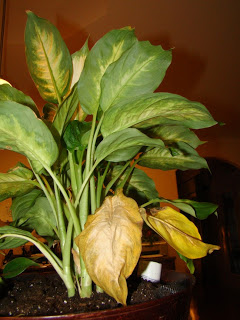
In less than 2 months, I’d already killed 5 leaves off this one plant.
But now that I know about wicking planters..
all my plants have to have them.
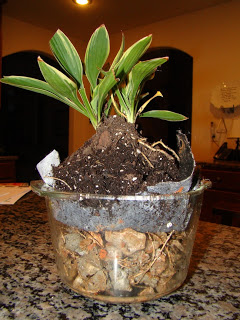
I did a trial run with this on in a glass dish so I could see
if it really worked before digging my big planters out side. 
It worked beautifully.
 
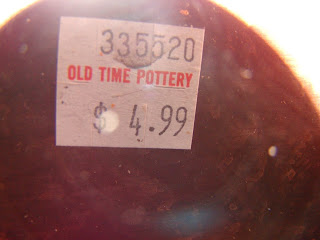
I found these pots at Old Time Pottery for a deal.
Her one arrangement filled two pots.
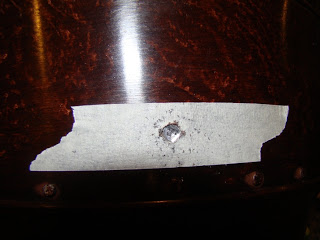
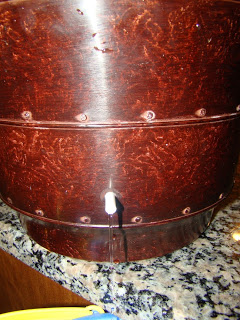
Drilled an overflow hole.
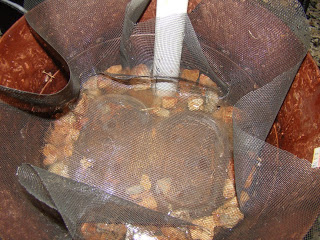
Siliconed in a little tubing.
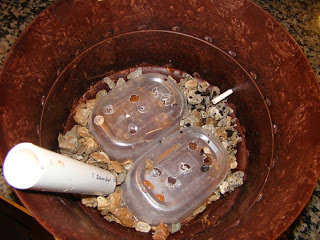
 Drilled holes in my plastic containers.
Filled in the rest with rocks.
Put in my fill tube. 
Put in my screen. 
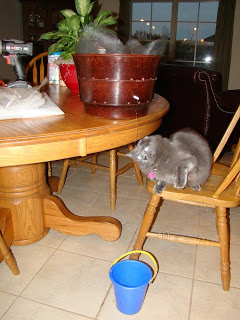
 George thinks the overflow tube is cool.
Put in my dirt and plants.
 Sprinkled them with cayenne pepper to keep
George from eating them.
Works like a charm.
 My plants are so happy now.
Perked right up.
Love,
Jenny

Wicking Planters Part 2

The next step in putting together my wicking planters was to 
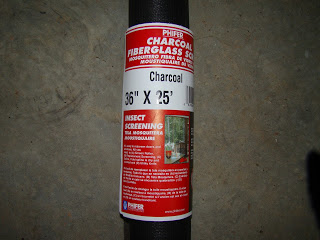
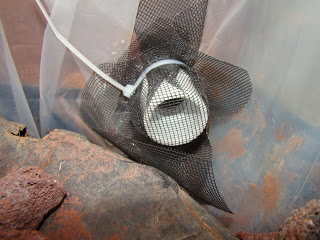
cover the inside of my overflow pipe with screen and a cable tie.  
This will keep the bugs out of my water reservoir
and keep my pipe from getting clogged.
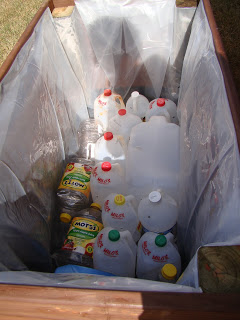
Next, I scoured my neighborhood for plastic containers.
Just happened to be recycling day.
It’s times like these when I wish my car was a little less conspicuous.  
I washed out then drilled half inch holes in all the containers.
The idea is to make space for your water reservoir and hold up the soil. 
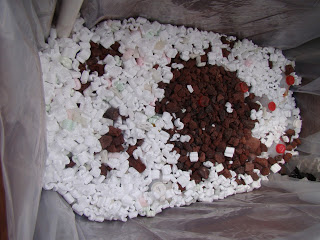
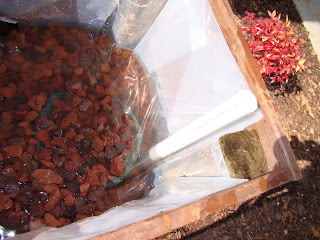
I filled in the rest of the space with old packing peanuts.
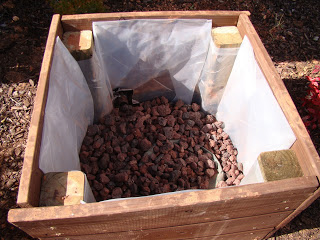
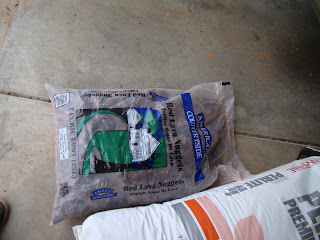
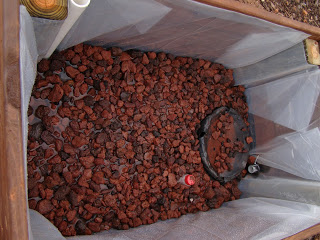
Then lava rocks.  
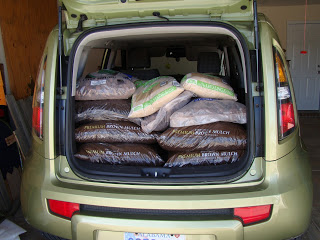
The more containers the less rocks I had to buy.
My little car was more than full.
Our bank account less full.
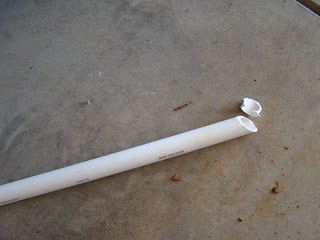
Almost forgot to mention the filling tube.
I cut the end of at an angle to add to the ease of filling water reservoir. 
See it in the corner below?  You stick your water hose in your fill pipe and 
fill your reservoir until your overflow pipe lets you know it’s full.
Your soil wicks up the water as your plants use it up.
The air pocket left when the water is used up is also very good for your plants.
The only time your soil gets soaked is when it there’s a down pour..
and even then your plants won’t drown because 
the extra water will drain out your overflow pipe.
Genius. Right?
I knew I had enough rocks when it looked soupy.
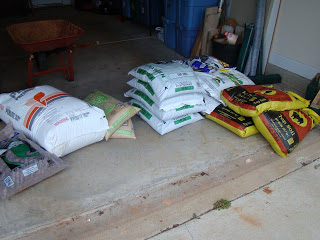
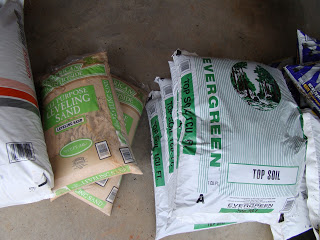
 I lined up all my soil components.
I read that the best mix for my flowers is 
1 part top soil
1 part compost
1 part perlite 
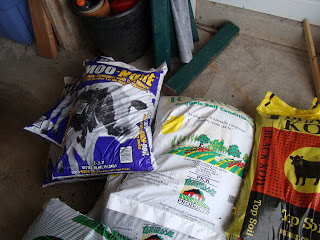
I bought two different kinds of compost.
Cow and chicken.
The chicken has this written on the bag
“As oder free as naturally composted poultry waste can be.”
Can be translated.. “IT STINKS!” 
I will never buy it again.
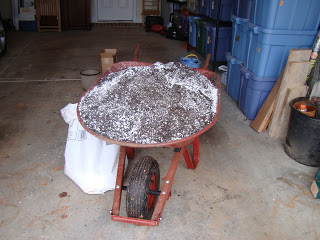
 Bags
 and more bags.
 I used every last bag, too.
 This planater was leaking..
Joel and Judi helped me empty it out.
I re-lined it in the rain.
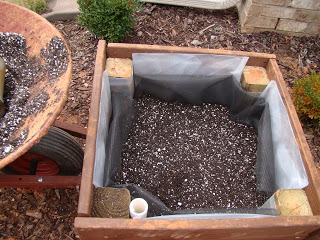
 Before filling with dirt, I lined the planter with screen
to help keep the dirt from falling into the water reservoir.
You can see it in the picture above.
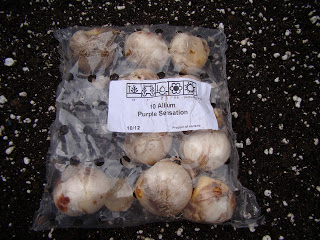
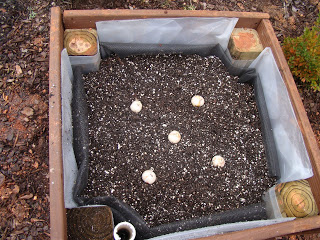
This one’s ready for the bulbs.
Five in this box.  
In the spring I plan to buy some other flowers to plant with them.
In my research I learned that their blooms only last for 3 weeks. 🙁
So much work for 3 weeks.
But hopefully they will bloom for years to come. 
My last batch of soil.
I really enjoyed the hard work.
So nice to be feeling up to it. 
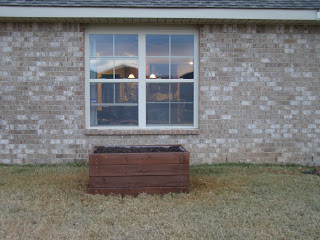
Here’s the box topped off with mulch out our back window.
Can’t wait to take pictures of the flowers 
overlooking the lake next spring. 
Boxes in the front.  Should get plenty of sun.  Yay!
Now I need to power wash the clay off our sidewalk.

My “Usual” Breakfast

I tend to eat the same things all the time.  
A few months ago I did some research on what the healthiest foods were.
I was surprised by what I learned.. and promptly forgot most of it.
A couple of things I remembered was that 
onions and kale were really good for you,
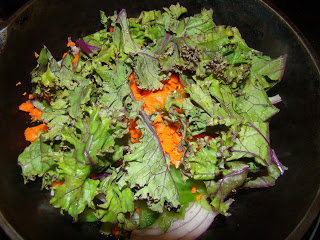
so I started making myself this breakfast.
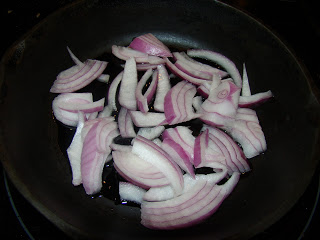
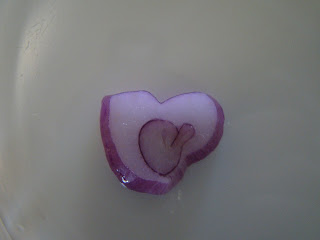
Chop some onions.. this one looks like a heart.  🙂
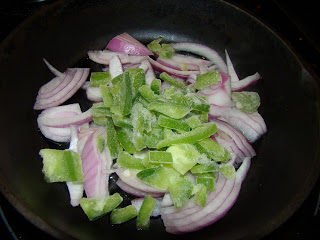
 Add in some frozen bell pepper.  I usually buy several at a time,
 chop them up and put them in zip lock bags in the freezer. 
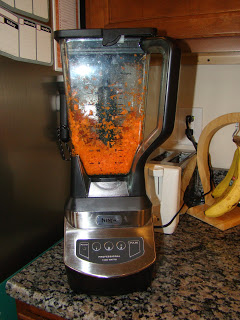
I also started buying bags of carrots and chopping a couple of them 
up in my Ninja Blender, which I love.  It only takes about 5 seconds.
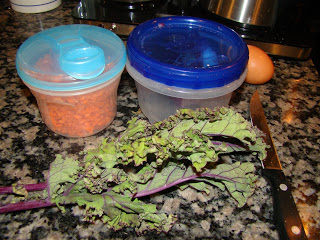
 I keep the carrots and my onion in containers in my fridge door.
 I buy organic red kale.. making my number one super food pesticide free.
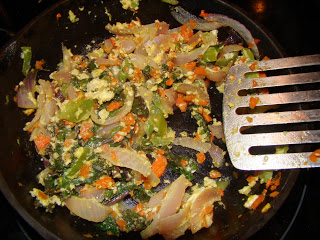
 Fry it all in olive oil for a few minutes while..
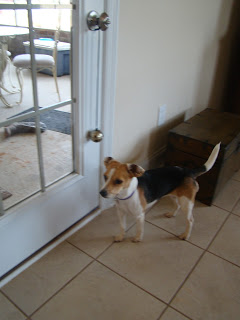
 I let Zoe outside.
 Then I add in an egg for protein.
Add a little salt and eat it up.

Wicking Planters

When Mike and I were in Alaska, we saw these awesome purple flowers.  I remembered seeing them in San Antonio too and loved them.  We found their name on google: “Purple Sensation Allium” and discovered that they are related to the onion and come from a bulb that you plant in October.
Mike surprised me with 22 bulbs for my birthday! 🙂 
My thumbs are far from green so I started doing lots of research 
on how to care for them and discovered that they will rot in clay soil..
which is exactly what we have.. so I did more research..
About this time, the weather turned cooler and Mike started taking me and 
the dogs for walks.. wonderful.. feeling so much better.
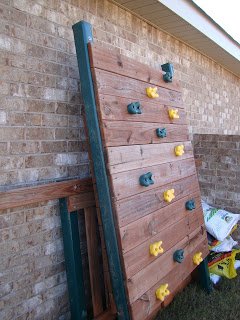
One afternoon, I spotted this climbing wall etc. out for the trash 
and thought, “Those would make great planters.”
   
They wouldn’t fit in my car so one of Judi’s friends 
came by with a truck and picked them up for me.
A random hot air ballon flew over our house.
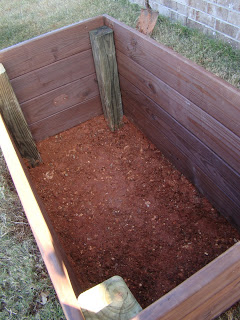
At first, I thought they were red wood, but while Joel and I 
were cutting them down to size we realized they were just pine 🙁 
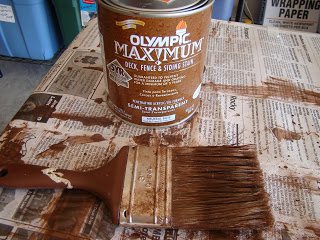
So I bought some 5 year stain to help them last longer.
While I was waiting for them to dry, I started wondering how I was 
going to water these flowers.  I am always killing plants 
with either too much or too little water.  
So I googled “how to water your planters” and learned about “self wicking planters” and “earth boxes.”  
They are watertight planters with a water 
reservoir in the bottom and an overflow pipe so you can’t overwater them.
They only need to be filled about once a week.  Sounded great to me.
I did a bunch more studying and shopping and here’s how they went.
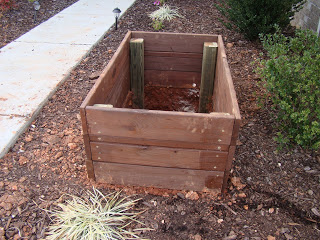
Josh, Joel and Mike helped me dig out the water reservoirs.
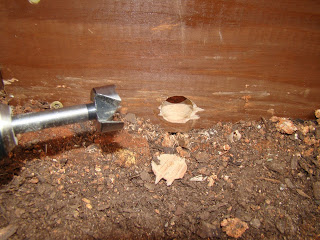
I cut an 1″ hole for the overflow pipe.
 I used WeedX in the bottom of the planters to help
protect the plastic liners from rock punctures.
I have a bunch and it’s not good for much else.
After a bunch of reading, I decided to make the water reservoirs
between 8 and 12″ deep and the soil 13″ deep.
The water will only wick up through 12″ of soil. 
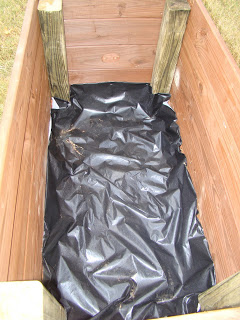
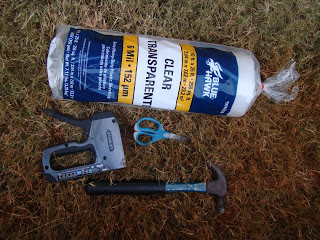
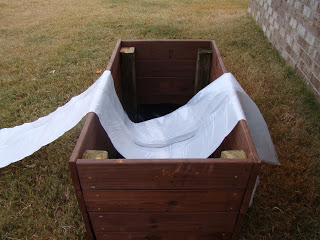
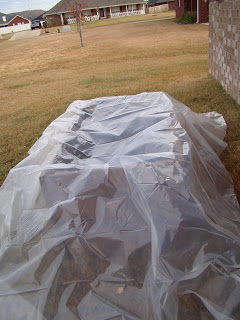
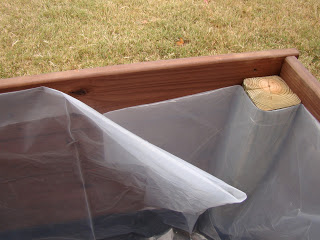
 I used 8 mil. plastic liner.
 Measured and cut it.
 It’d make a great green house.
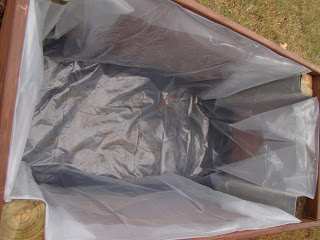
 Folded and stapled the corners over.
Enjoyed the fall scenery. 
 Ta da.. watertight planter.
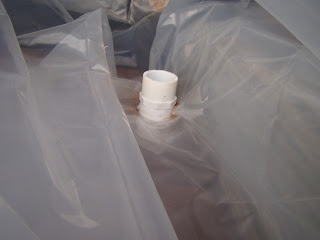
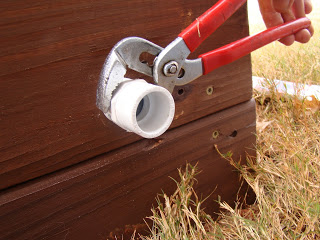
 I had to be really creative with the overflow pipe.
Spent an hour at Lowes thinking in the plumbing section. 
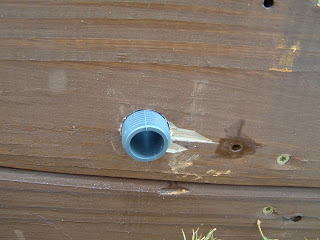
I needed something to go through the wood 
and plastic and be water tight.
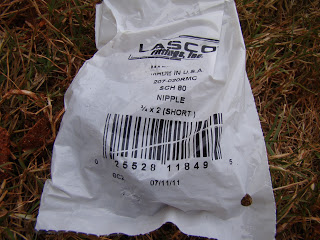
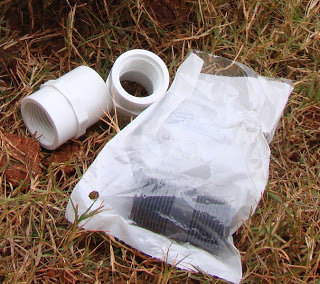
I used 3/4″ nipples and adapters..
Punched a small hole through the plastic.
 
Squeezed the nipple through the plastic and the 1″ hole I drilled.
Then used a bunch of silicone calk
and tightened the adapters on snugly.
Then I went in for breakfast while I waited for it to dry.
© 2025 Finding Joy in Him

Theme by Anders NorenUp ↑